Suggestion sheet
![]()
Several basic recommendations for installing our kits at home adhere to these suggestions for great results.
We recommend using lacquer thinner and a white rag on cyl bores as well as the decks till the rag comes out clean even though they are sent washed and lightly oiled the honed finish will retain any debris/dust from packing and shipping.
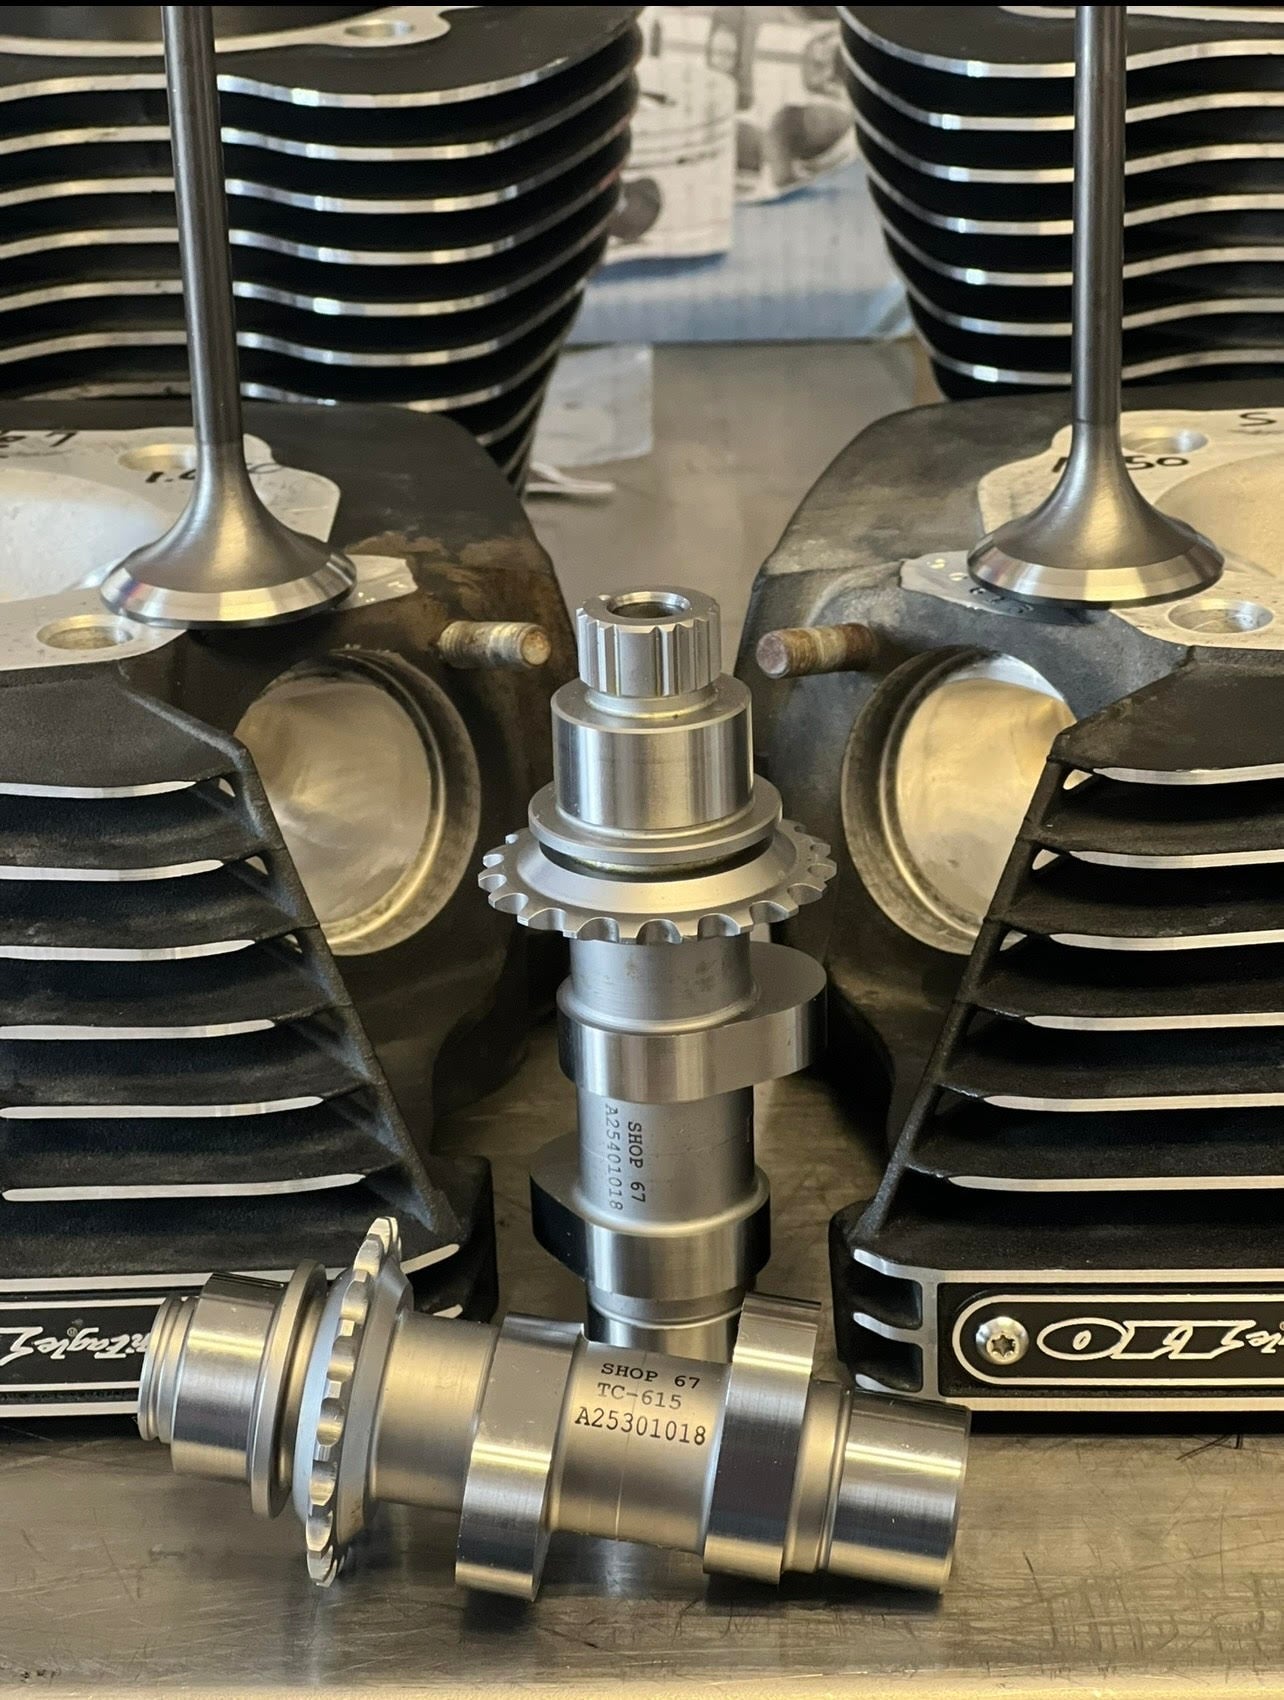
Ring orientation- Think of the piston of having 4 corners over the skirts all ring gaps need to be 180 degree from each other over the skirt, the only gap over the wrist pin should be the expander for the oil rails.
Please Use a light coat of 20w50 on pistons and rings as well as the bores after cleaning before installing pistons in cyls.
As far as heads please clean decks with thinner as well. Lube the cyl base oring & dowl Oring with Vaseline, if using a base gasket (4.125 bore TC and all M8)
we recommend using a light coat of copper gasket sealer after applying please clean the very outside of the gasket edge so you cannot see the copper color when installed.
***ALL M8 HEADS WE RECOMMEND WELDING/PLUGGING OIL HOLE ON DECKS OR YOU WILL HAVE HEAD GASKET WEEPING ISSUES WE OFFER THIS SERVICE IT IS A 1-2 DAY TURN AROUND PLEASE CALL US***
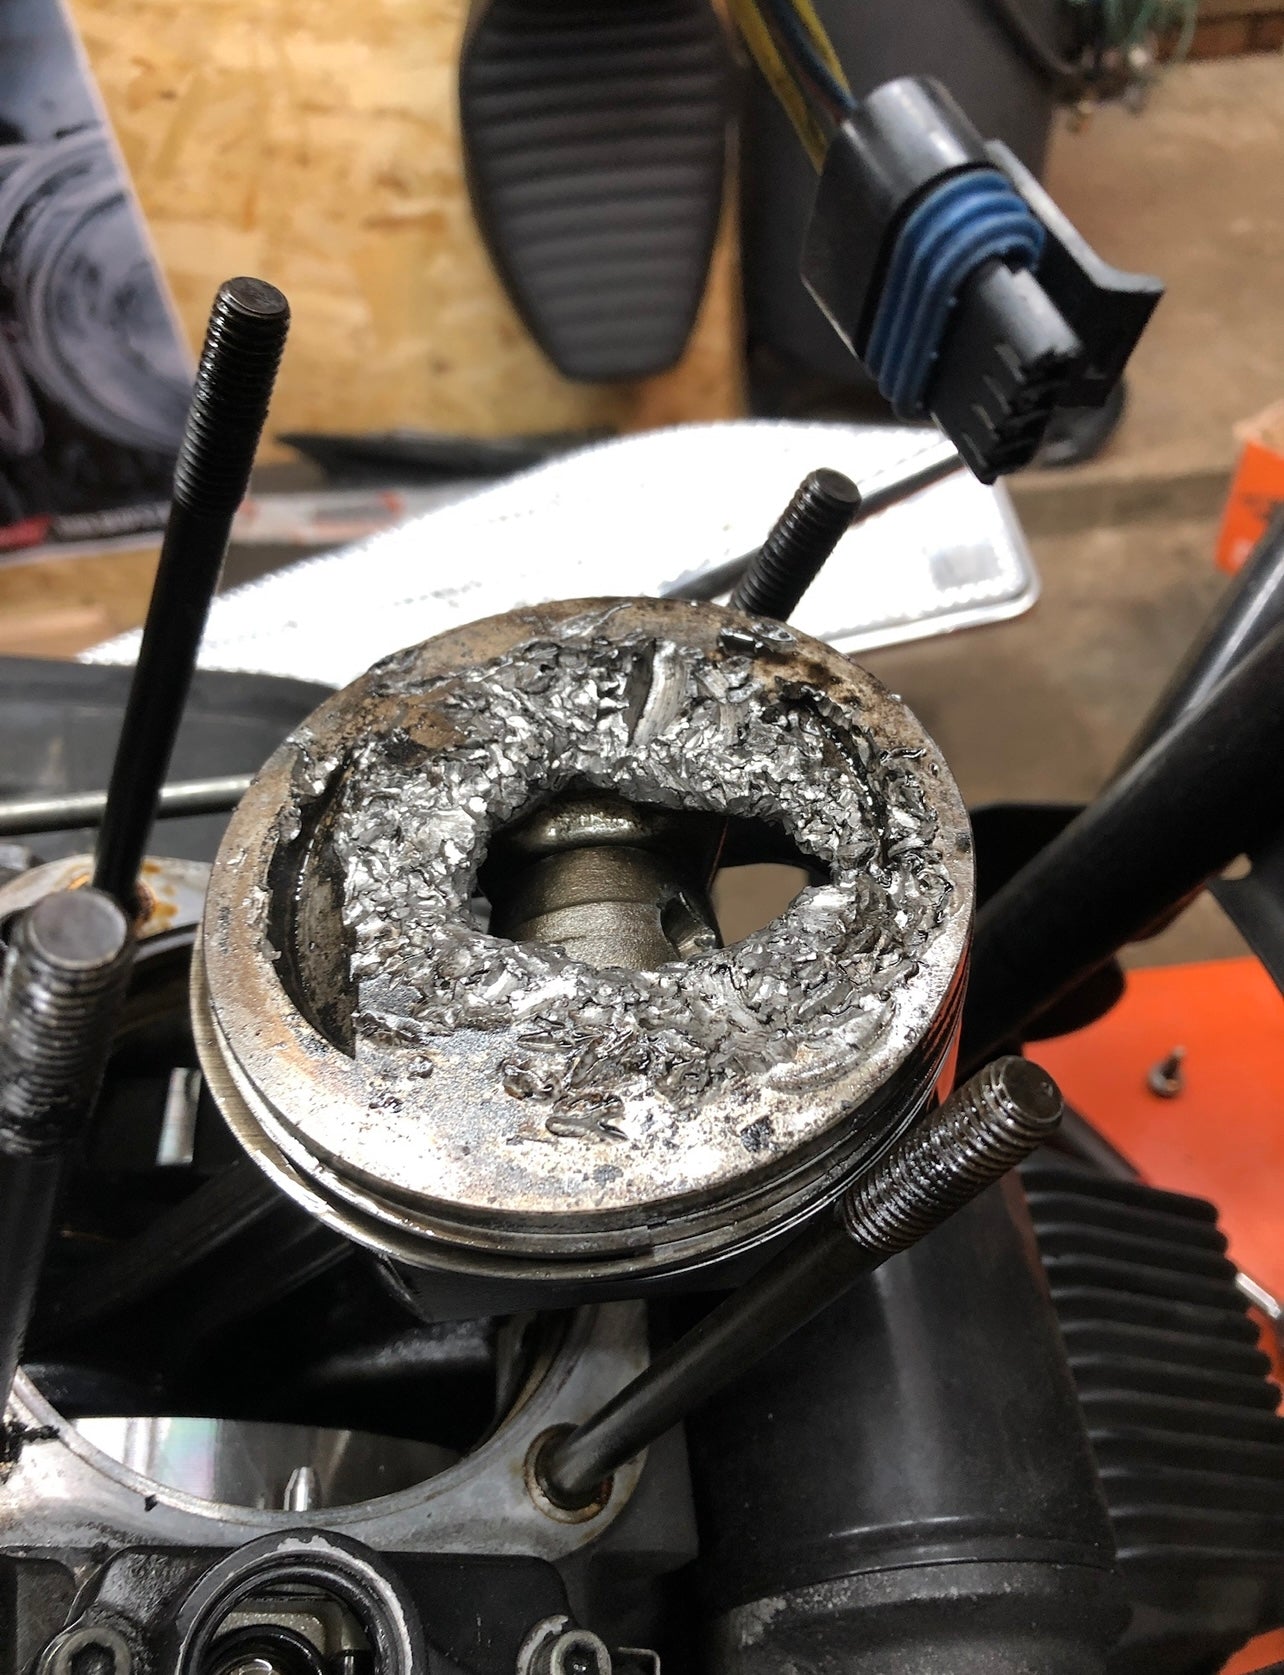
***If the engine has had ANY!!! Prior failures please remove & flush Oil pan completely as well as replace entire oil system ie: Cam plate oil pump lifters piston jets hyd tensioners etc the entire oil system will be contaminated and will carry over the metal to the new parts resulting in failure!!!***
Head Bolt Torque Sequence
Please use ARP lube ultra lube 100-9908 on the threads and under the flange of head bolt to ensure even and proper tq.
*You can purchase a small 1oz packet #100-9908 that is enough for one top end off amazon or most auto parts stores for around 6 bucks.*
We don’t recommend the same tq sequence as Harley for the cyl head bolts, we do a criss cross pattern starting at 5 ft lb and continue in 5lb increments until you reach 45ft lb on tc and 55ft lb on M8

Pushrod adjustment:
We suggest while the plugs are out roll the engine over by hand and find the "heel" of the cam the lowest point of the lifter travel and adjust each pushrod one at a time in their lowest position but before moving on to the next pushrod you need to verify you can spin the pushrod with your fingers to verify the lifter has bled down if you cannot spin the pushrod with you fingers then DO NOT move the engine the extra lift from the lifter not bleeding down can potentially bend a valve
Below is a chart of some common pushrod thread count use this chart as reference but please verify your pushrod thread count and suggested amount by mfg.


Next: Oil Priming & Heat cycles
First things first after assembling engine please keep the plugs out rotate the engine by hand in top gear and ensure there’s no binding and turns smoothly after verifying put the bike back in Neutral and turn over with the starter until the oil light turns off this make take several try's. If the light doesn’t turn off DO NOT START!
Remove the oil pressure sender and install a oil pressure gauge this can be had from a local auto parts store and be adapted to fit your case pretty quickly.
After installing gauge repeat and turn over til you see the needle flutter/oil light goes out and gain oil pressure. We recommend doing this cycle 3 times with about 2-4 mins of rest time between cycles to ensure oil has gotten to the top end of the engine each time it should re gain oil pressure quicker as the lifters, pushrods, rockers, cases etc are filling with oil.
ONLY after gaining and verifying oil pressure reinstall plugs and begin heat cycles.
***PLEASE CONTACT US IF YOU NEED A BASE MAP FOR FIRST START UP! WHEN UPPING DISPLACEMENT ADDING HEAD FLOW BIGGER CAMS HIGH FLOW INTAKES AND EXHASUST THE TUNE UP WILL BE TOO LEAN AND POSSIBLY HURT ENGINE THE FIRST 10 MINS OF THIS ENGINES LIFE IS CRITCAL!***
1st, 2nd, and 3rd Start ups: These are very short run times! Each of these initial 3 start-ups should last only (15-20) seconds each at 1250 - 1500 rpms (just above idle speed). After each start-up, allow the cylinders to fully cool (use a fan) to room temperature. Don't rush it. Take your time. Your new parts need to get acquainted.
4th, 5th and 6 th start ups: Run times increase slightly. Run these 3 start-ups at 1250 - 1500 rpms, 30-45 seconds each, with time to cool with a fan to room temperature between each run. Each run should heat up slower than the last; this is normal.
7th and 8th fire-ups: With a fan blowing air at the engine, increase run times to 1-2 minutes each, again at 1250 - 1500 rpms. Allow cooling with the fan blowing on the cylinders to room temperature between runs, as before.
After you complete these steps please take the bike to a dyno we would rather the bike be broke in on the dyno with proper afrs and timing than out on the street with a improper tune potentially over heating and or washing the cyls down with gas (too rich & detonating)
Oil recommendations:
Here at the shop we have found the best results in parts lasting with the use of Harley oil filters only not aftermarket and Bel Ray semi synthetic 20w50 engine oil if you cannot get your hands on bel ray we also like Valvoline VR1 oil as well.
Few other things to think about-
ALWAYS check runout before installing any engine upgrades. The crankshaft is the foundation to your engine and vital to a long-lasting sturdy engine. What’s “okay” runout we feel all engines should be .0010 and under but we understand that isn’t realistic unless you do a crank service (true and weld) we have seen stock cam plates live with .007 and under and Aftermarket typically don’t like .004 and over.
If your engine is high mileage we also like to replace piston oil jets HD part #22307-99. Over time these piston cooling jets clog up and the spring gets weak over time, when the springs get weaker the oil will flood out of the jet too early and fill the crank cases will too much oil creating a sump issue.
Also on big bore application M8’s we strongly feel the S&S dual stream piston oil jets should be used to ensure proper piston cooling due to the extreme size of the bore the single stream stock ones don’t offer enough coverage.
Lastly not necessarily needed but we do feel the sump plug #3115 from Feuling is cheap insurance and it is a good idea to pull your sump plug and flush with clean oil when doing a upgrade anyway.
Again, Thank you for your purchase and if you have any questions please reach out don’t guess
Shop67